
In our recent series …Ways to Screw Up a Flume Installation we highlighted some of the more common (or comical) ways we have seen flume installations go awry. Now we’d like to show you some of the ones that were done right.
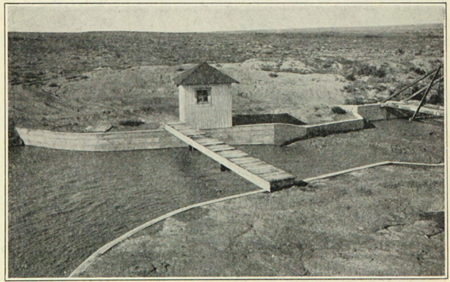
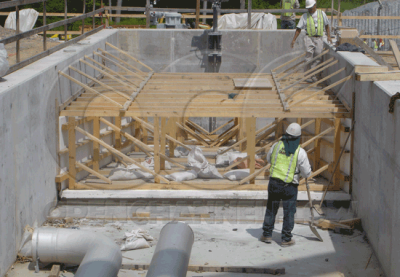
Smooth Transition of Flow Into the Flume
While most modern electronic flow meters have some level of dampening available in their programming, there is no substitute for good quiescent flow coming into a flume. In the photo below, note the use of radius wing walls to gradually transtion flow into the 30' Parshall flume.
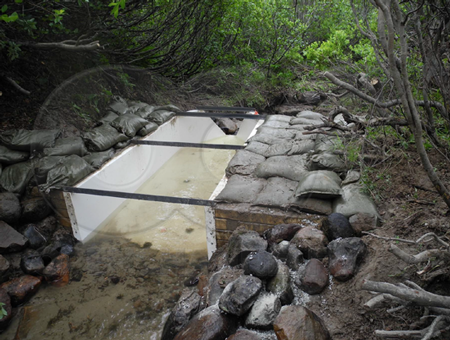
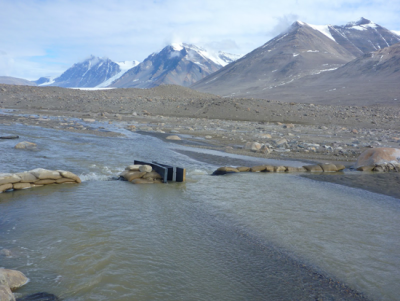
All of the Flow is Directed Into the Flume
As basic as it sounds: for a flume to measure flow, it must measure all of the flow. Here reinforced wing walls fully span the creak being measured; directing the entire flume into the H Flume.
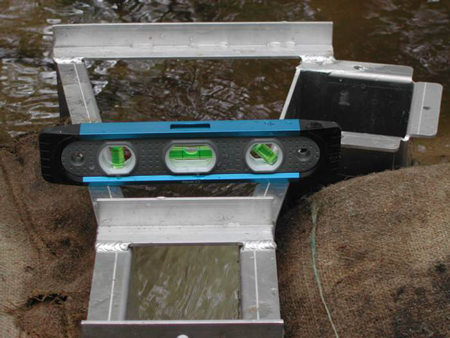
Flume Leveled
As we discussed in Ways to Screw Up a Flume Installation, for some flumes (Cuthroat and Parshall) researchers have developed corrections to account for flumes shifting out of level. Note that corrections are not avaiable for all flume types and just because you can apply them, doesn't mean that you should take shortcuts when installing a flume.
We want you to focus on your results, not how you got the results, so take a little extra time when you are installing a flume to verify that is is level from front-to-back and from side-to-side.
Flume Properly Sized to Handle Maximum Flow Rate
In surface water applications it tends to be more difficult to accurate estimate the maximum anticipated flow rates an installation may see. While some of the factors may be unknown and naturally you'll want to keep your equipment costs down, don't undersize the flume. Overtopping flow can ruin not only the data collected, but also the installation itself. Make sure to leave some margin for error when sizing a flume.
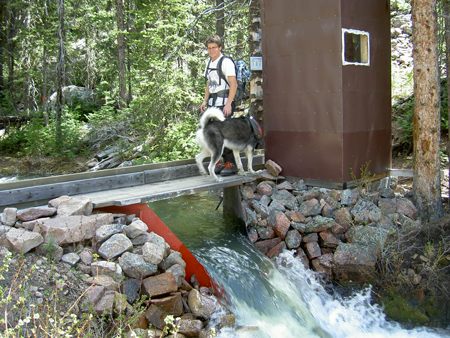
Image: Parshall Flume Collection, Colorado State University
Related Blog Posts
-
Expert Insights
-
Expert Insights
-
Expert Insights


Explore more insights in our blog.

LOCATIONS IN ATLANTA, GA & BOISE, ID